")
Restoring the Sand Rover bodyshell
The Sand Rover I received is not new: it was already run and already received care and repairs from its previous owner. I want to thank him for providing me with a set of photos that depict all the work he performed on the model and for allowing me to publish them in order to present the different steps.
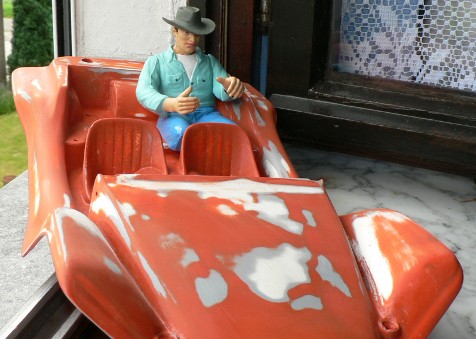
The bodyshell he started with
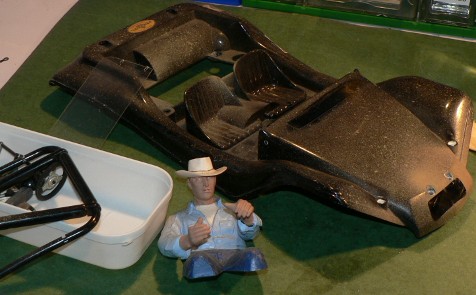
After removing the accessories, the very first step is to get rid of the black paint:
The technique used here is sanding and scraping with a metal brush. Other techniques involving chemistry are available to remove paint, like brake fluid and oven cleaner (my friend Teamneogordini's favorite). These chemical techniques are to be used with lots of caution in a very well ventilated room.
Next step is to fill the holes found on the bodyshell:
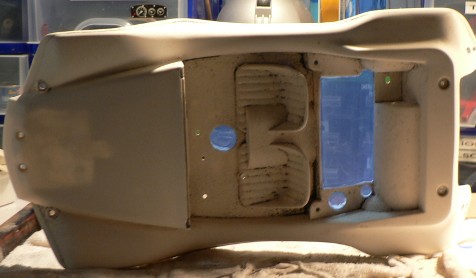
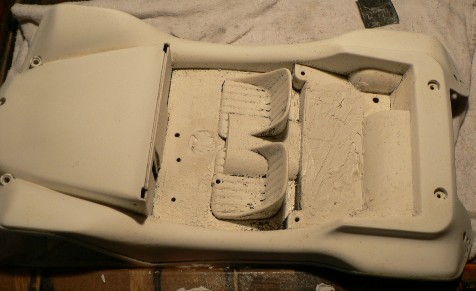
The technique is to back the holes with plastic card from the inside and to fill with mastic from the outside. Then sand until the repair becomes invisible.
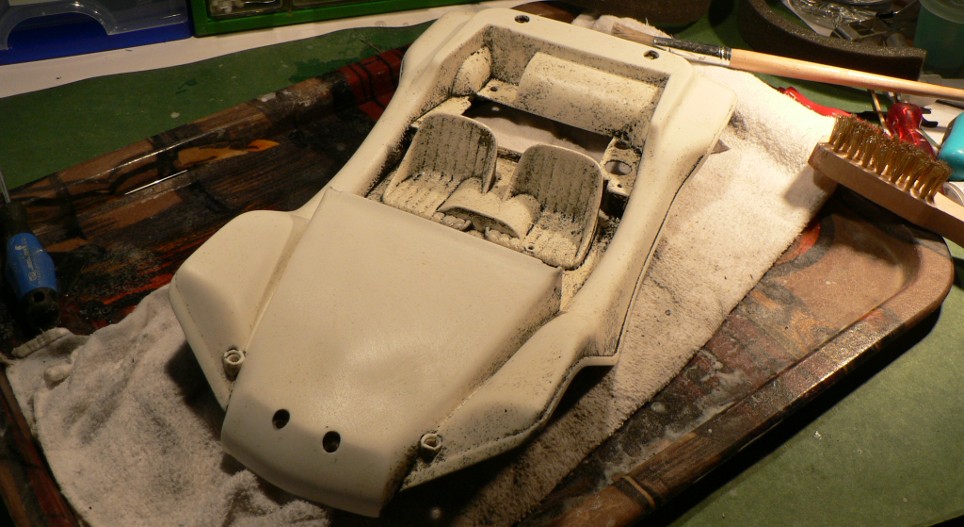
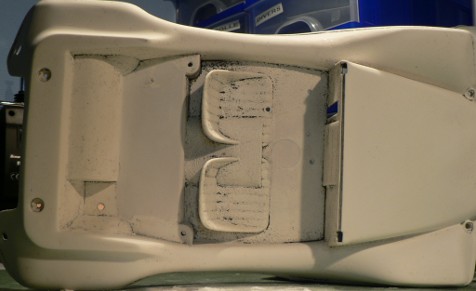
The bodyshell is now ready to start with the painting process: the first step is to spray surface primer since it will help the final paint coats to better stick:

After spraying the surface primer, you need some sanding with 1200 paper in order to remove any defect the primer revealed. You will need to repeat these steps until you achieved sweet and perfect surfaces.
Now the bodyshell is ready to receive its definitive paint coats:
Here again, you will need to make several very light paint sprays and to sand in between in order to remove any defect: for having already worked the ABS bodyshell of my Toyota Celica LB Turbo, this process can get pretty long and boring before you get a great result.
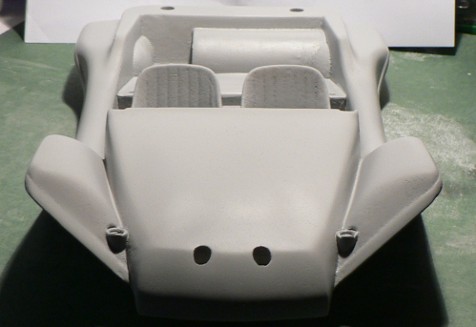
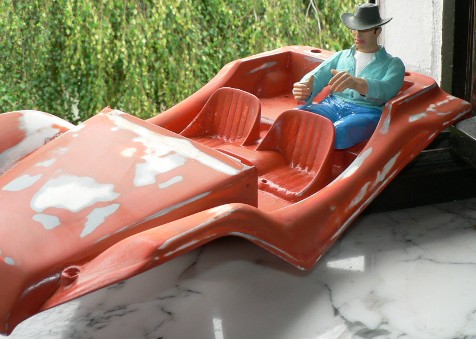
All these efforts to achieve this splendid result:
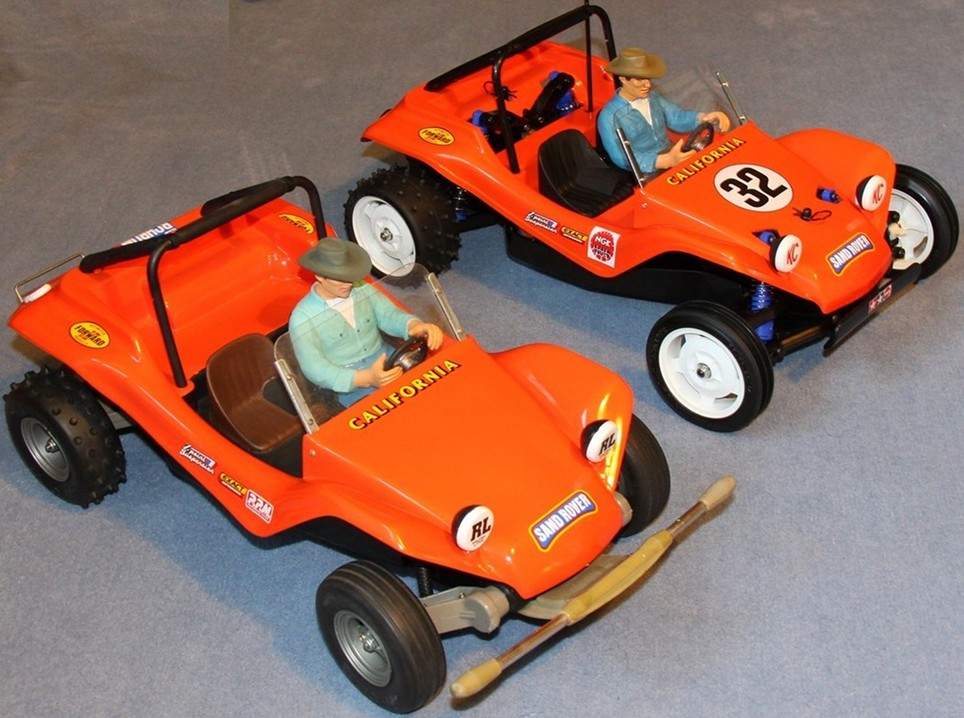
This photo depicts the great result achieved by the previous owner of my Sand Rover. It also shows quite an interesting comparison with the modernized re-release that Tamiya made in 2011. Despite their 30 year difference, these two economical models both offer a very original look and performances suitable for beginners. However, in order to make this fantastic bodyshell fit on the DT-02 chassis, Tamiya was forced to make important modifications that impact the model realistic look, both on the bodyshell and the overall aesthetics.
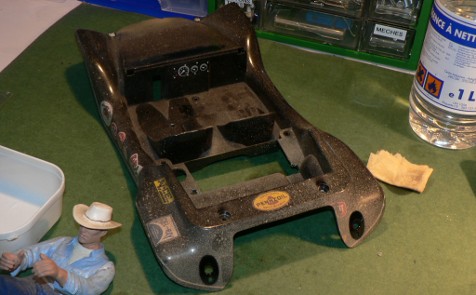
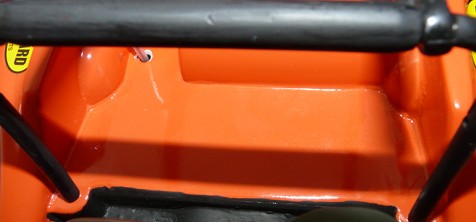
However, the last photo shows the bodyshell sitting on the chassis. The repair on the rear platform removed the the holes for the body mounts (I mean, what was left).
Original body mounts
The rear platform after repair
Since I have the stock body mounts, I had the choice between two solutions: either to drill the platform to recreate the holes for the body mounts, or to imagine an alternative system. I quickly decided to go for the second option since the bodyshell is already painted: I considered it was too risky to ruin it. Moreover, this is a part of the bodyshell that was restored, better said recreated: even if the drilling operation were successful, installing the bodyshell retention system there would have brought more constraints exactly where the bodyshell is already fragile. Despite my taste to stay as close as original as possible, I considered the risk was too important.
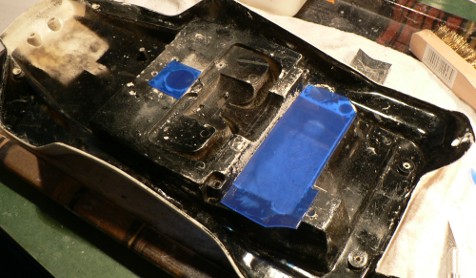
Additional challenge due to the open air transmission: I wanted the new bodyshell retention system to be as discrete as possible. But it had to be easy to use too (not that easy due to the bathtub chassis) and I wanted the bodyshell to remain undrilled.
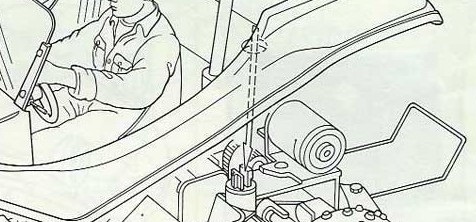
The body mount inside the chassis
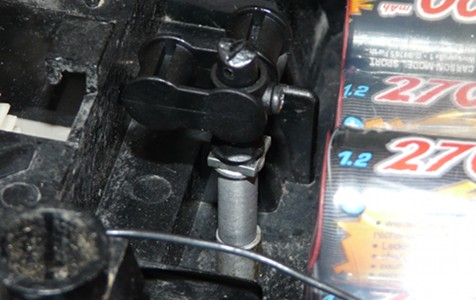
Discrete solution once the bodyshell is on
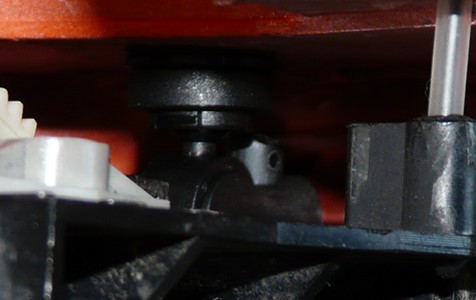
The new retention system is made of a body mount fixed inside the chassis bathtub I previously drilled: the height had to be adjusted with spacers because I didn't have body mounts long enough in my spare parts. The body mount should be 40mm long at the minimum. At its top, exactly at 36mm from its base, fix the lower part of an ABC Hobby Stealth Body Mounts system (see the article on my Toyota Celica LB Turbo for more information). The 36mm distance is the exact height at which to screw the ABC Hobby body mount on the body mount tube. The rest is easy: complete the assembly of the Stealth Body Mount and make its upper part as flat as possible. Stick the double-sided tape and then place the bodyshell on the chassis. Press onto the bodyshell so the tape sticks well on the underneath of the rear platform. If you follow the exact height of 36mm, you can press the bodyshell quite strong onto the body mount since the bodyshell underneath lays onto the chassis bathtub.
I used only one retention point when the original assembly shows two. The first reason is room: to place 2 body mounts, you need to place them exactly were the battery pack is. The second reason comes form the fact that the bodyshell does not need to be fixed: holding it is enough since the bathtub chassis form guides it almost all the way long. In the end, the result is almost invisible: only the chassis had to be drilled and the precise adjustment leads to a easy to use and efficent system to correctly hold the bodyshell.