")
Building the XV-01 chassis: front and rear gearbox
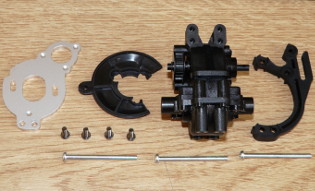
As usual, to better know a chassis, nothing best than building it. Here, I will first strip it down before rebuilding it as per the manual, but installing the hop-ups I chose: just for information, the full disassembly takes about 2 hours.
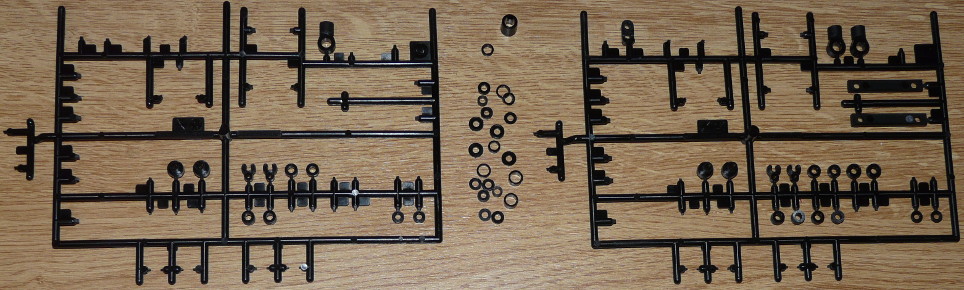
Be very careful when totally or partially disassembling the chassis: there are tons of spacers, washers, small ones, smaller ones, plastic and metal bits that could easily get lost. Worse, it will be very difficult to identify them afterwards. My advice: while disassembling, use the manual to precisely identify each plastic spacer and then store them with a label showing their reference (mostly NN something). As for the metal spacers, you can do the same, even if it is much easier to identify them since they are drawn at scale 1 on the manual. Just for the show, here are most of the plastic spacers in the kit: metal spacers are not shown.
As usual (again), we start with the differentials.
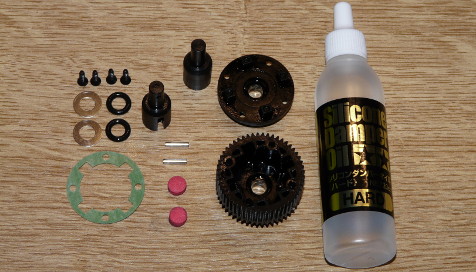
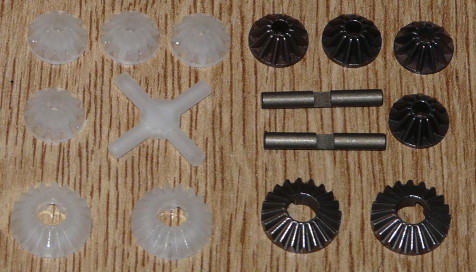
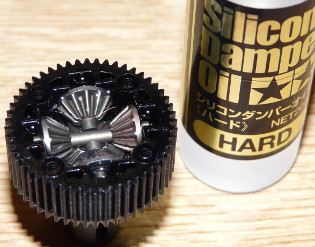
On the right photo, first surprise: we'll need the 53445 Hard #900 damper oil (very thick) to grease the differentials. Wait, what? Oil to grease? Yes sir  . In fact, the two o-rings and the green gasket you see are used to seal the differentials. On the right, the stock plastic bevel gears that I will replace with TA-06 hop-up metal gears.
Here we go with the differentials: two of them need to be done.
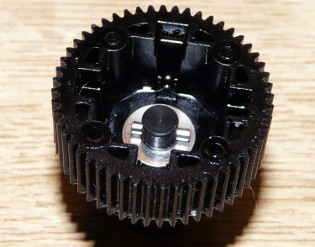

First photo, one o-ring was placed and secured with an axle at the bottom of the differential housing: more on this specific step in the photos below. Then you place the bevel gears and you fill the differential with oil. Gently pour the oil in several steps in order for the air to evacuate: the final oil level needs to reach the bevel gears cross. Then you place the green gasket before you go for the top cover of the differential housing.
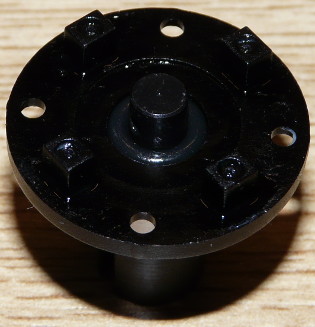
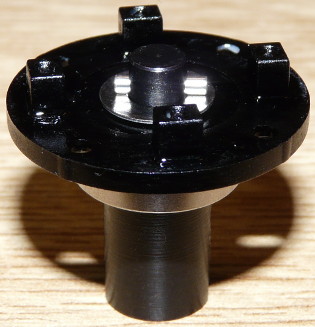
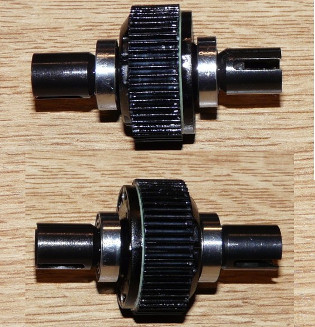
I preferred to shoot this last step because it was easier to show, but the process is the same for both the differential housing and the top cover. First you insert the outdrive cup and you place the o-ring at the bottom of the differential housing (or on the top cover inner side as shown above). This is the black ring you can see on the outdrive cup on the first photo. The second photo shows a shim placed on top of the o-ring: it will serve to both protect the o-ring rubber from the metal axle and press the o-ring in order to waterproof the system on the outdrive cups side. As for waterproofing the housing and its top cover, the green gasket seen above will be used. The last photo shows the two differentials assembled and the outdrive ball bearings. Note that the XV-01 includes all necessary ball bearings in the box.
The final result is perfectly smooth and quiet. Actually, you could achieve the same results with a more conventional bevel gear differential like the TL-01's, including the “performance” aspect (if any) as it would feel pretty uncomfortable to pretend one is better than the other. The XV-01 differential complexity is due to the oil bath (and waterproofing the differential, which I am not sure it is over time), offering the ability to choose different oil thickness to tune up the differential stiffness. Again, you can achieve the same result with a conventional bevel gear differential like the TL-01's depending on the grease thickness you choose. The big difference is for maintenance since changing oil viscosity is only a matter of opening the differential to release the current oil and to pour the new oil on the XV-01. With differentials using grease, you first need to perfectly clean off the remaining grease before applying a different grease. In the end, we will like the XV-01 modern differentials... because they are a new and different way to to things, plus they are cool to build .
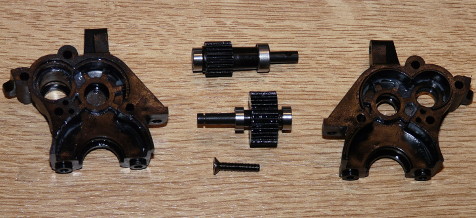
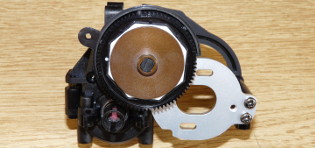
After assembling the idler and counter gears on their respective axles, you are ready to install them in the housings... not guessing that you are making a slight mistake. Anyway, you keep going with the front pulley:
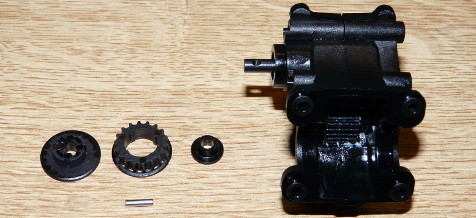
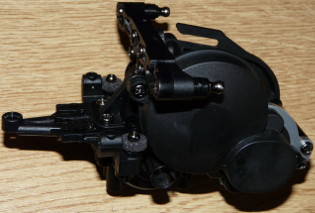
The front pulley is now installed and you are ready to close the front gearbox once you placed the differential:
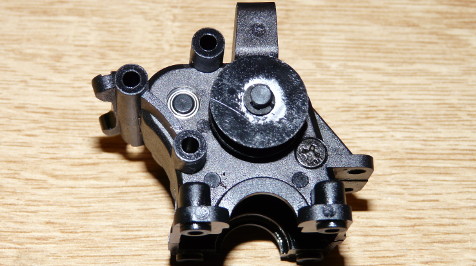
Next, you prepare the (stock) aluminum motor plate and you are ready to assemble:

Now is the moment to build the slipper clutch that is depicted on the first photo... with its own axle. That axle which is the counter gear axle we saw two steps earlier . Actually, the stock spur gear uses the counter gear axle while the slipper clutch requires an hex on a specific axle that is supplied with the slipper clutch. So we just need to undo the two last steps, replace the stock counter gear axle with the slipper clutch axle and to rebuild it all. Then we can properly build the slipper clutch.

As a side note, the stock XV-01 Spur gear is 68T module 0.6, giving a final gear ratio of 8.04:1 when using the stock 22T motor pinion. The final gear ratio range in the 0.6 module configuration goes from 8.42:1 to 6.10:1 (21T to 29T motor pinions). The slipper clutch spur gear is 77T in 48DP, which means you need to switch to 48DP motor pinions (not included). The final gear ratio range is a little bit shorter since only 24T to 29T motor pinions can be used, making the shorter final ratios ranging from 8.34:1 to 6.90:1.
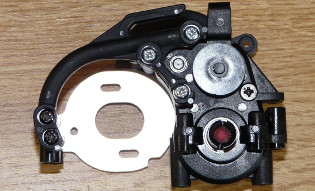
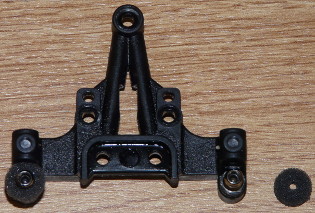
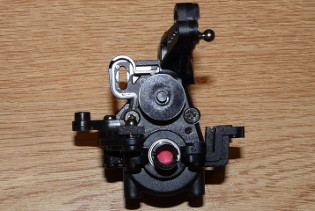
We continue building the front gearbox with the damper mounts:
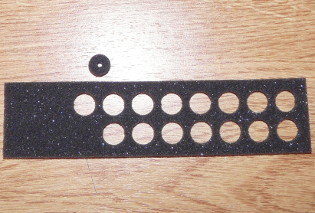
On the first photo, the anti-dust foams for the ball connectors, the same that were used on the TRF201 chassis. In case you would need these foams for another chassis, just look for reference 53980.
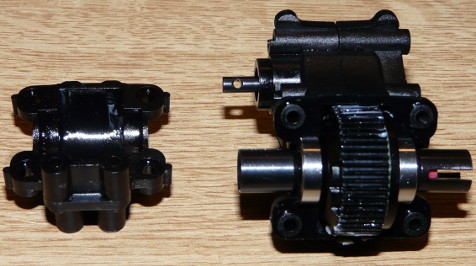
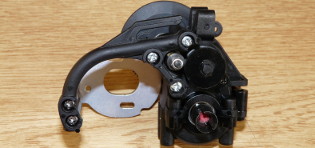
The front gearbox is finished for now, so let's start with the rear one:
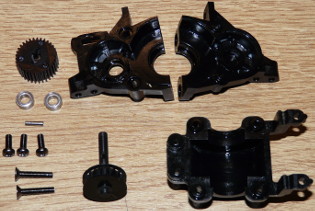
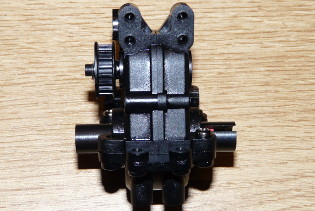
Nothing special here since we are basically repeating the same differential and pulley build process as for the front gearbox. On the second photo, you will notice one missing screw on the gearbox housing (left corner, right below the pulley). This screw will come later when we install the drive belt protection. For those of you who already know the XV-01 chassis, you will notice that I eventually mounted the lower gearbox housing reverse: by chance, this stupid mistake makes it impossible to complete the next step, so I soon realized what was wrong .
To complete the build of the rear gearbox, we install the belt tensioner:
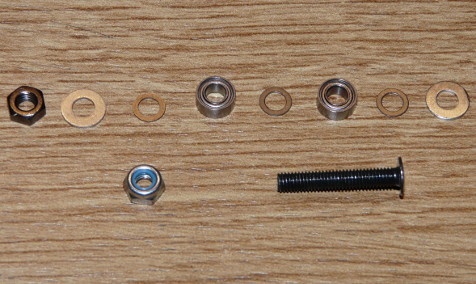
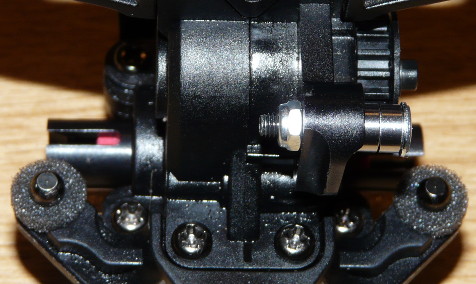
The belt tensioner is made of a long screw on which ball bearings and washers are placed, something already seen on the TA-04 TRF for example.