")
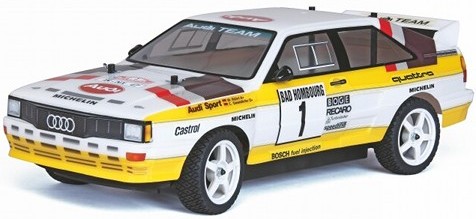
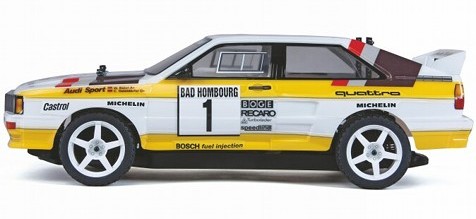
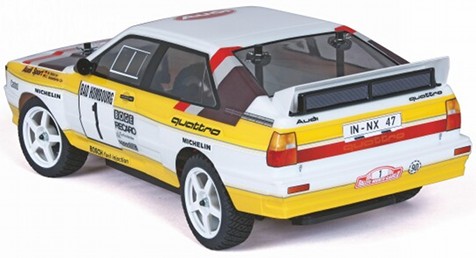
The Audi Quattro bodyshell
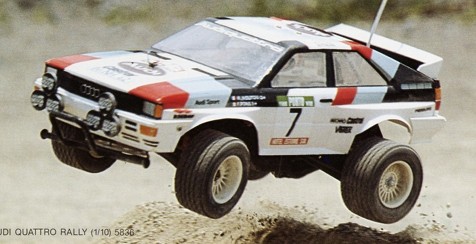
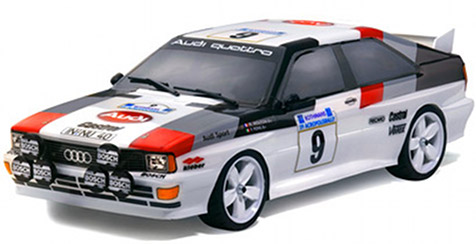
To my knowledge, there are 5 decent 1/10 bodyshells available to depict this rally monster. The first one is from Tamiya in 1983: it is the Group 4 version, but it is not very realistic, it doesn't fit a Touring chassis and it is very difficult to source. The other Group 4 version is produced by Carson: very realistic, it still can be found quite easily in Germany for about 50€ (clear bodyshell + stickers).
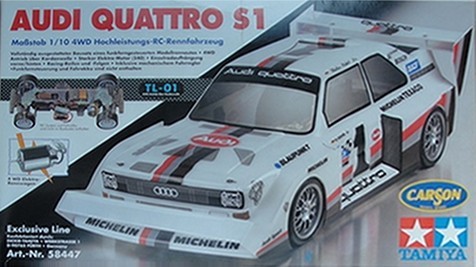
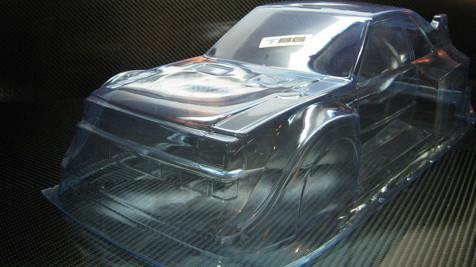
Two other bodyshells depict the S1 Pikes Peak version: the first one is again from Carson but it is no longer available, and the second one is produced by Teambluegroove:
Carson Audi Quattro S1 Pikes Peak
Teambluegroove Audi Quattro S1 Pikes Peak
Photos © Carson Model Sport and © Teambluegroove
This is no delirium: Carson did produce this bodyshell in kit form along with a TL-01 chassis under the reference 58447... long before Tamiya used that same reference for one of their own model. Anyway, both the kit and the bodyshell are now very hard to source. However, Teambluegroove's version is still available but provided without stickers. Too bad.
To my knowledge, another Audi Quattro bodyshell replica exists, less known than the previous. As it seems, it would be a Carisma model available in RTR form, even though it can also be found under the Graupner brand: the model in itself has no great interest apart from it Touring-size bodyshell. By chance, the bodyshell alone is available as spare part and it comes already painted and decorated for about 50€.
This A2 version Audi Quattro made by Carisma will nicely sit on my TA-03F chassis and will be an excellent replacement for the stock Opel Calibra Cliff. Since the bodyshell aspect is now solved, let's go for the chassis.
The TA-03F chassis
There is a difference between a chassis in overall good condition and a chassis that I consider good for running. Apart from a serious cleaning session and replacing any plastic and metal bearing with ball bearings, you learn a lot when disassembling a chassis. Moreover, it is always interesting for guessing how the chassis will behave, where are the potential weak points and what could be the influence of the different setups.
It took me 5 hours to entirely disassemble the chassis, to clean every part and to rebuilt everything. Here it is, ready for the final assembly:
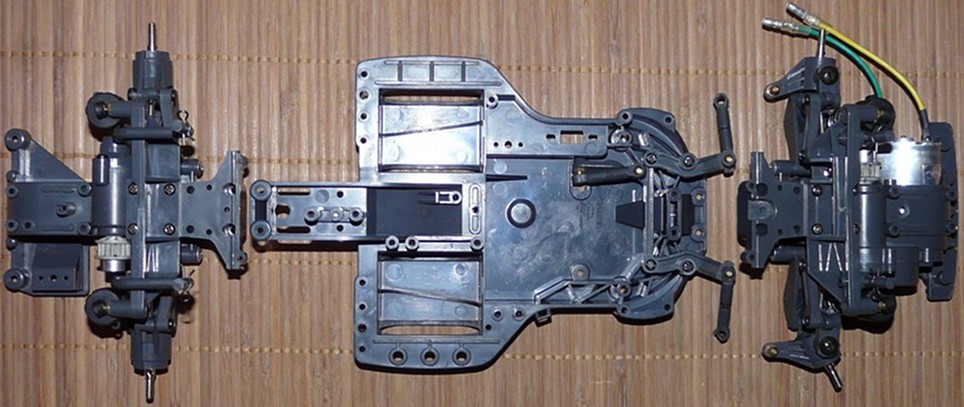
A private joke is hidden in this photo  . Found it? Try again... . OK, end of the game: the rear gearbox is in the wrong position. Have a close look at the motor at the front of the chassis: you can see the belt pulley on the left hand side of the chassis. Now look at the rear gearbox: the pulley is on the right side. Even if Tamiya designers are sometimes eccentric, they never thought about a single belt diagonally crossing a chassis . Anyway. If you think this joke is due to a stupid mistake when I took the photo, well, you're right. Believe me: I didn't mean it .
Unlike what manuals say never put grease anywhere in a chassis.
This is important if you want your model to last: all right, grease is meant to smooth contacts between the different parts of the transmission, from the inner gearboxes to the wheel shafts. However, it will also capture dust and particles from the track: it is obvious when off-roading, but tarmac and even carpet tracks are full of debris that will get everywhere and agglomerate to the grease. So the grease will soon become an abrasive compound that will literally shave the transmission mobile parts. To get a better image, think about a chewing-gum in the sand: supposing you would want to chew it, think about what would happen to your teeth .
The only exception to this are models with very powerful motors: constraints are so important that you must grease every part in the transmission in order to smooth the movements. In this specific context, grease will improve performance. But for leisure use, never put grease. Nowhere.
The chassis is now cleaned and fully rebuilt with ball bearings all around, but it still misses electronics. Even if the chassis looks spacious, Tamiyad esigners did not leave much room. If the steering servo location is quite natural, you'd better think twice before placing the electronic speed controller and the receiver since the manual only mentions the use of a CPR Unit (all-in-one controller-receiver) to tape on the steering servo. My chassis will be equipped with a more conventional AM receiver and TEU-10BK controller so I had to imagine a different layout...
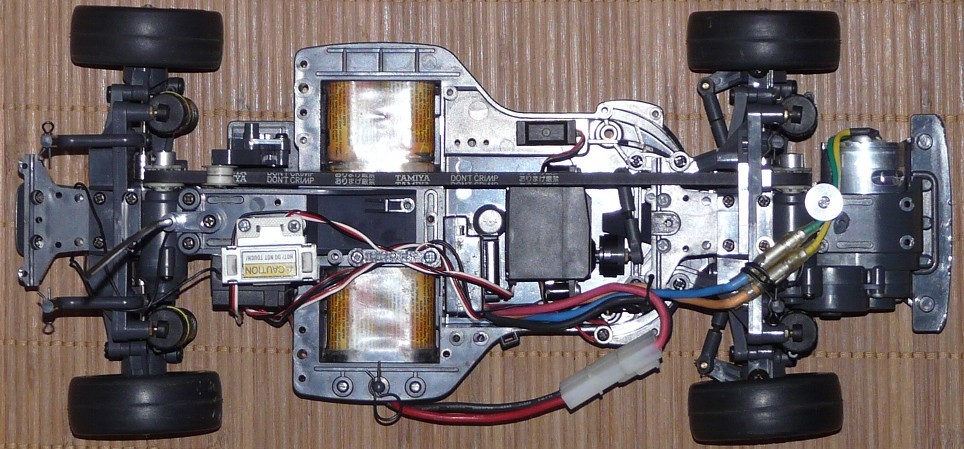
As depicted on this photo, there is no battery tray upper part which prevents to install any electronics there unless you add a custom plate. Moreover, the motor being located at the far front of the chassis requires to place the controller close to the steering servo unless you make the wires longer. So there are only two solutions left to place the receiver: to tape it on the steering servo at the cost of loosing access to the controller setup button, or to tape it farther rear on the chassis side.
It is very important to firmly tie the cables and to guide them all along their travel across the chassis so that none of them could reach the belt. This is something I already had noticed with my TA-04 TRF chassis: belt-driven transmissions require precise cable tieing. Any mean is good to achieve this, including the use of the stock mechanical speed controller which purpose is mainly decorative.