")
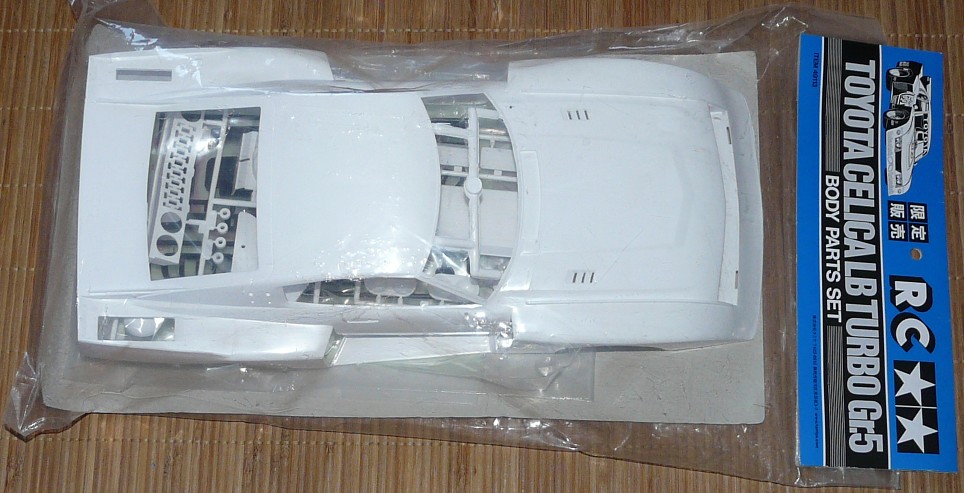
49113 Toyota Celica LB Turbo Group 5 bodyshell
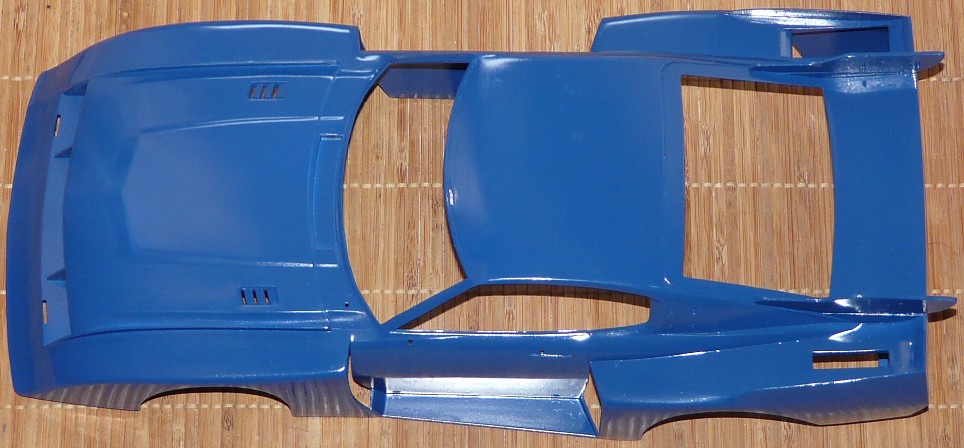
This is the 58009 Toyota Celica LB Turbo Gr.5 bodyshell that was first released back in 1978, but the original version is blue whereas mine is white. The reason is because Tamiya re-released this body set as a limited edition for the 2009 Shizuoka model fair. It was sold only to the model fair visitors which explains why it is pretty rare (not as rare as the original bodyset from 1978 though). Apart from the plastic color and the package (a bag versus a box for the original), the two versions of this body set are exactly the same. Of course, mine is complete with all accessories, stickers, and manual... in japanese  .
.
I chose to do it as per Tamiya standard livery, what's commonly called "boxart". To do this, I'll need some (!) paint:
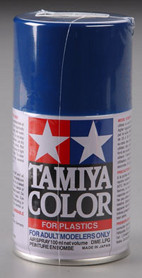
TS-15 Blue
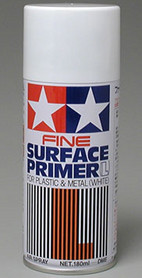
Surface Primer
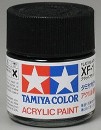
XF-1 Flat black
X-11 Silver
X-26 Clear orange
X-27 Clear red
XF-7 Flat red
XF-2 Flat white
XF-15 Flesh
XF-8 Flat blue

XF-3 Flat yellow
X-8 Lemon yellow
All these jars and sprays are needed to entirely paint and decorate this body set, including the driver, but still, one very important color is missing for this project. I spent a lot of time searching for a solution, I read tons of things about it, I made several tests all leading to bad results or even disasters. Then I found a solution: we'll see this further on.
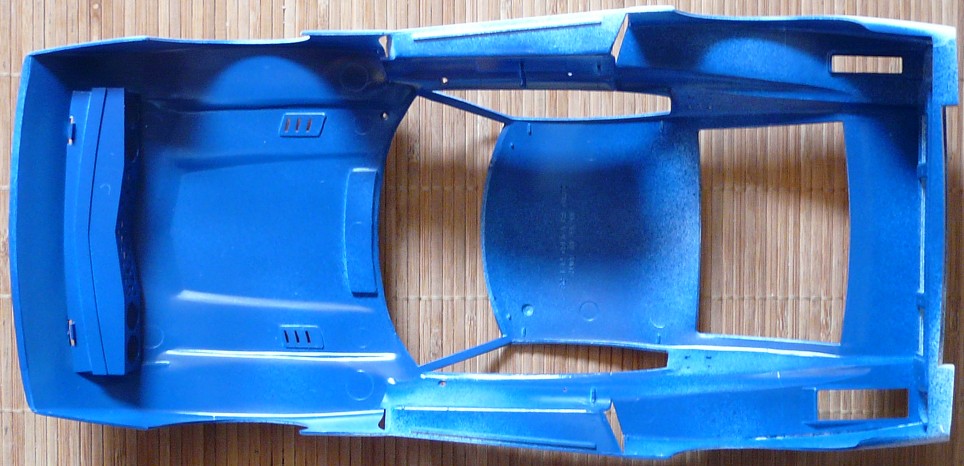
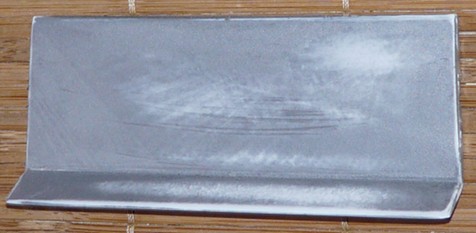
Preparing the bodyshell
The first thing to do is sanding some molding defects here and there with 800 then 1200 sand paper. After my experience with my Monster Beetle bodyshell, I decided to glue the parts that need to receive the same paint as the rest of the bodyshell: namely to two rear wing stays and the front grill. The main interest is to sand the extra glue and to hide joints between parts.
Then, as for any bodyshell whether it is lexan or ABS, you need to thoroughly wash it in hot water with washing dishes product: this removes any trace of unmolding product.
In order to make the paint better adhere the bodyshell, I thoroughly sanded it with 1200 sand paper. The aim is to create micro scratches on the plastic: you won't see them after painting, but they allow the paint to better stay on the plastic.
Painting
Before painting, I first sprayed a thin coat of fine surface primer on the inside of the bodyshell: this provides the best adherence condition for the paint. But the bodyshell needs to be painted interior and exterior and this can't be done in a single step.
I found useless to show you a photo of the surface primer coat since both the bodyshell and the primer are white .
To get this bodyshell painted, the best is to do this step by step: first, spray the surface primer on the interior and then paint it (TS-15). Next, spray the surface primer on the outside of the bodyshell, re-spray a light coat of paint on the inside to cover the primer projections and then paint it from the outside. You can easily perform the "interior paint finish" and the exterior painting in one step.
The above photo shows the interior after spraying the primer and the first coat of paint. The paint coat is not finished because I used quite an old almost empty spray I had and I suspected particles in the paint (there was, you can't see them on the photo).
Next, I finished the interior paint, sprayed the primer on the outside. After a light sanding with 1200 paper, I resprayed a light coat on the inside before I sprayed the first coat on the outside.
I always let each coat dry for half a day before spraying again: three thin coats were needed to completely paint the bodyshell. Next, I needed to perform quite a big work on finishing since my painting talents are limited. Moreover, I found some "oil effects" at two different places: obviously, the paint didn't stay there. To put things right, as for paint drips, you need to sand the defect (1200 paper), spray primer and then spray 2 or 3 coats of paint. Do this until you get satisfied with the result.
My painting talent is so bad that I needed 5 days to correctly paint this bodyshell at the rate of 2 painting sessions a day. The result is not too bad but I wanted something much better: question of talent, either you are gifted... or not .
While painting, I discovered something new: Tamiya was forced to modify its TS paint composition due to the new "trendy" environmental laws. So my two spray cans were the new generation and I noticed differences compared to old ones:
- the paint pulses with more force than before but it doesn't go farther
- the paint is more liquid.
This does make a change since, after measures with an old spray can, I found that you now need to increase the distance between the can and the part to paint by almost 10cm (to reach about an overall 30cm distance) in order to avoid paint drips. The problem is that less paint reaches the part to be painted and this tremendously increases the volume of paint needed to paint something.
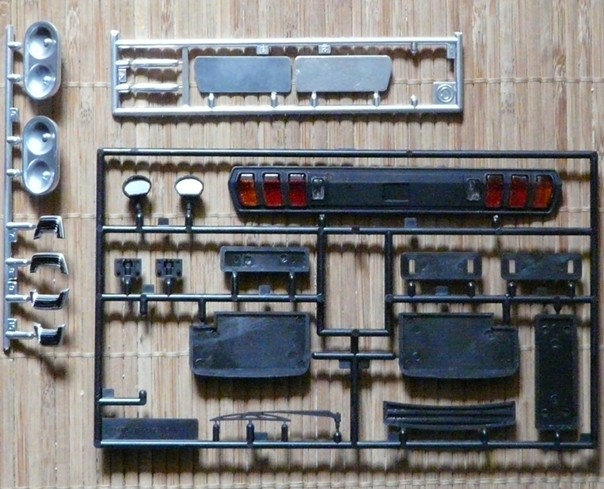
To finish the bodyshell, you need to glue many additional parts. The parts meant to be painted the same color as the rest of the body were already glued before painting. For all others, I decided to paint them directly on their trees because many of them are too small. The driver also benefits from my super skilled paint talent:
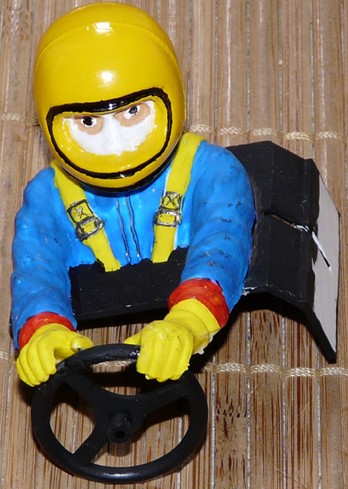
Zooming is cruel, but the driver looks better than it seems on the photo: but I have to admit this is no piece of art . The "chrome" parts were sprayed with the best can I could find ("best" is actually "less worse") and black parts were painted XF-1 (flat black). Rear lights were painted clear red and orange: for a better effect, I painted them 2 coats inside and outside since they have to be glued on a "chrome" part.
Chrome, the missing color
In modeling, two colors are a serious issue for every paint manufacturer:
- gold
- chromed
In fact, the "mirror effect" is the problem, but the material on which to paint is another one (there's no problem for metal, but plastic can't be ionized). For the RC market, manufacturers can produce gold plastic parts (like the rims for my Fox and my Monster Beetle) or chromed plastic parts (like my Blackfoot Xtreme bumpers and my Madbull rims). But they use industrial processes that you can't reproduce at home.
I have been searching and testing for months, but nothing gives any kind of valuable results. Here are my main attempts:
- chrome sprays: they lie! Either bought in hardware stores or car centers, the dozen sprays I tested give the same result: pathetic, deplorable, rubbish or crap. With or without primer, with or without a flat or satin black coat, those sprays are worth nothing. The best result you can get is a dull silver gray. But all share the very same flaw: whatever touches the paint makes it turn either dark gray or black. All the chrome sprays I tested don't deserve their name.
- adhesive "mirror" vinyls: either for windows or any other surface, they all are thick, quite rigid and to not stick onto the plastic, even plastic previously sanded or primered. Avoid them too.
- tinfoil + glue or double-sided tape: get to your kitchen, and you can cheaply test it. Whatever the tinfoil quality, the glue doesn't spread uniformly and thus shows marks. I couldn't test with glue sprays, but results are not very good anyway since the tinfoil is the best chrome and cheapest candidate so far, but still not reaching a real chrome effect.
- Spaz Stix paint: unfortunately, you can't use it on ABS. But it is an excellent solution for lexan bodies since it really makes a shiny chrome effect.
Here is another alternative I tested, but I recommend to use it only on small surfaces:
Bare-metal-foil-chrome
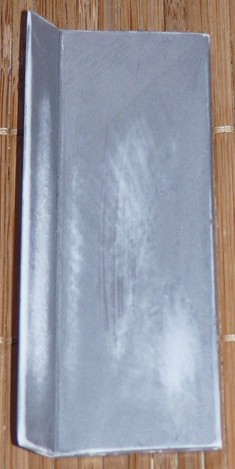
The part to chrome
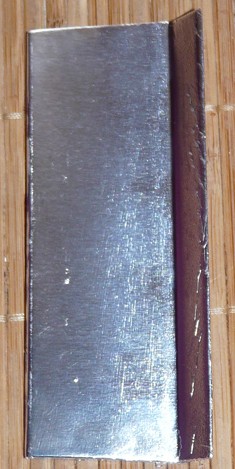
The result
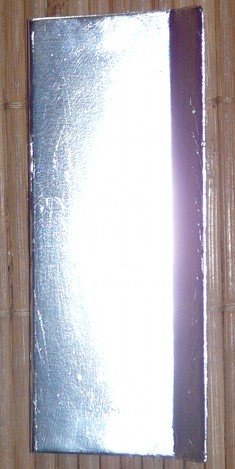
Shiny!
The Bare-Metal foil is a adhesive super thin tinfoil. It is meant to be placed onto the part and than to smoothly applied with a Q-tip or a paintbrush. On a part with such dimensions, this solution reveals to be difficult to use because the sheet is very thin and it folds very easily showing marks.
The photos show a first try, but it is very difficult to avoid marks on such a big surface. Being so thin, the big advantage is you can place different tinfoil pieces close to each other without noticing the separation lines, unless you look for them with a magnifying glass.
The result is the best I reached so far and the sorry state of my rear wing shows the long sequels of tests I performed, despite of intensively sanding it between each test. The last photo shows how shiny the result is, but we're still far from a true "chrome" as per my standards. So this Bare-Metal Foil Chrome solution is the best solution I found for small surfaces (like window outlining, details like door handles), but it is not meant to provide a chrome "mirror" effect on large surfaces.
At that point, I had no more clues on how to get the desired result, so I started to search again. Browsing from links to others, I finally got to Alsa Corporation website and found this video:
Great! I found the French distributor I immediately called. And then, happiness: the person confirms they offer a true chrome mirror effect, they can process a single part (they don't do large series) and they already successfully made it onto ABS model parts. Moreover, they gently strip the part to clean it in order to guarantee the result, and they add a vanish coat for protection. This process has a cost, but it is significantly inferior to what I really spent for those damned so-called chrome sprays. A few mails after, and after sending them the part to be chromed, here's the result:
The part as I sent it...
... how it came back

wow! To be honest, the photo is far from capturing the real effect: with or without flash, using different light sources, I just couldn't make the photo better.